Dual Bass Unit. (Tone Press, Linden EQ)
So....Here is a little custom project I did this week.
A buddy of mine (Bryan Kimes) did a session with me at my studio a few months back, and fell in love with the bass tone that I got for him.
He wanted help with his bass rig.I told him that I can help with the front end of it, however the back end that I was using in my control room wasn't going to be much help live. He was really digging the beta version of the LindenEQ, so I strapped a Tone Press in front of it and his eyes lit up. On this session he was using both his fingers, and a pick on a Fender Jaguar Bass.
The Tone Press really glued the bass together on these sessions. As far as the Linden EQ goes, it's always the hair I like to add to bass. It really makes a bass sit properly for recording, and live applications.
So here are a few bummy pics (sorry, I was working...It's a studio for recording not photography..So the lighting isn't the best but you get the idea).

The boxed drilled...(Thanks Joey for the help)
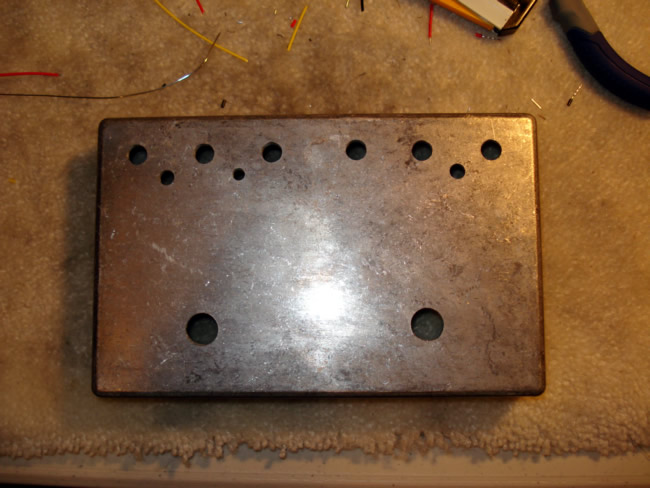
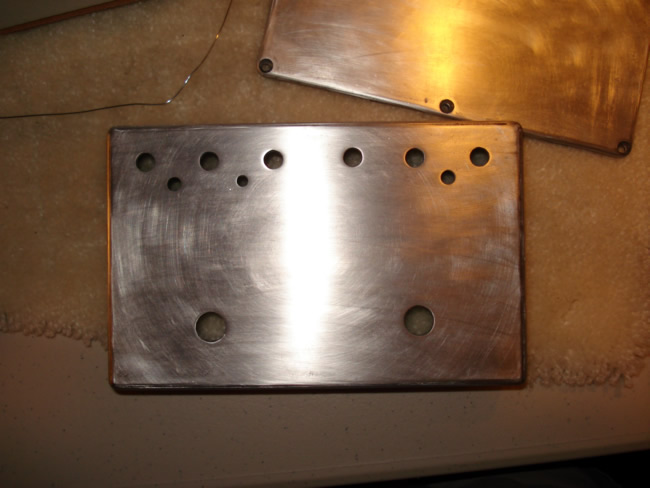
The sanding and cleaning up...I like that these have that amp chassis look.
( I just hate having to sand them..LOL )
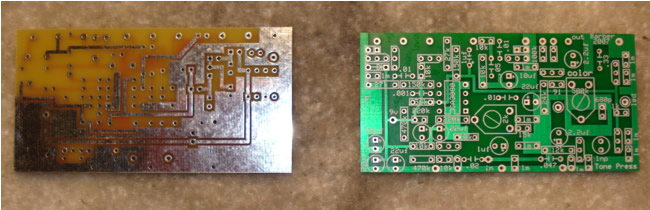
Time to stuff the PCB's
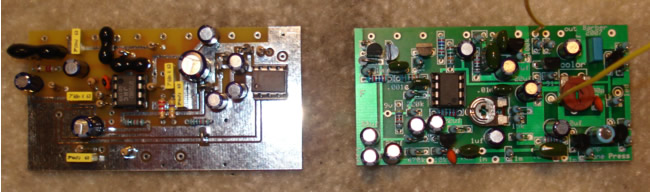
And...Stuffed! (that was fast except for the matched parts)
Ok.. So I got lazy and forgot to take pics for a few steps.
I loaded the pots then put the boards in..and soldered them to the pots. Then ran the wires on the Tone Press for blend control and wired up the 2 LED's. Oh..and ran the ground between the 2 boards..as seen below.
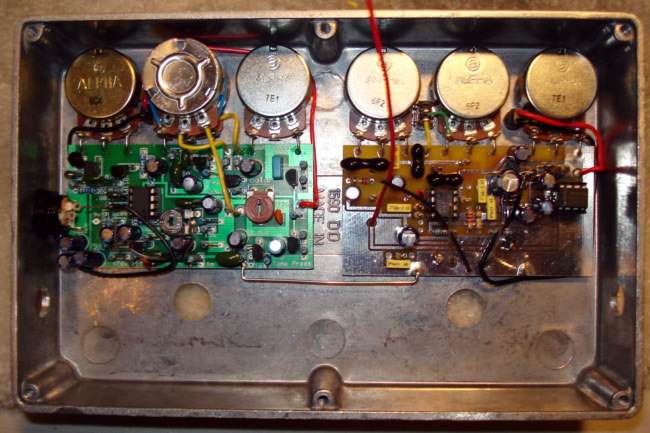
Now the switches..and I/O jacks get put in and soldered. Then the 9volt hookup to the Linden board. After this comes knobs then testing.

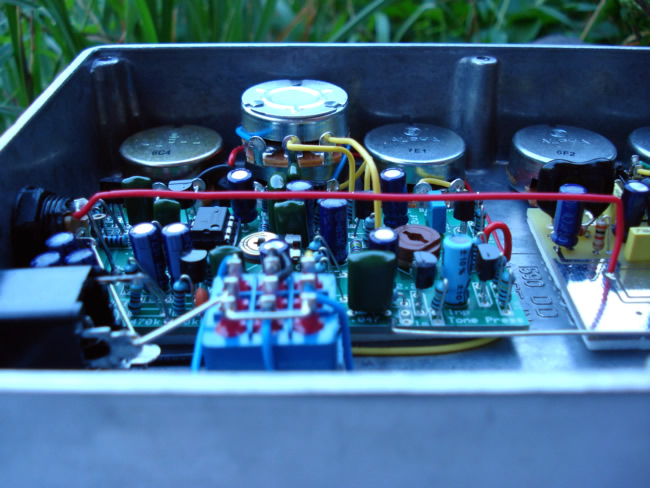
Closer shot of wires..Sorry it was cloudy that day.
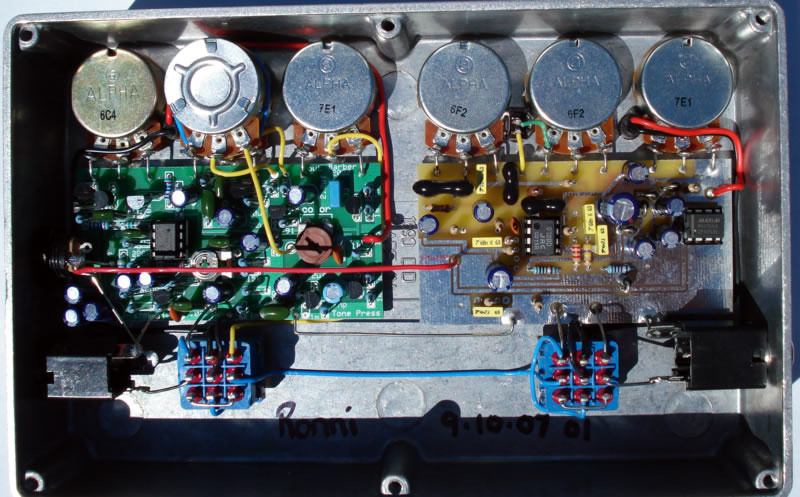
Another inside look at it done!

With knobs..need to clean up and add stickers.
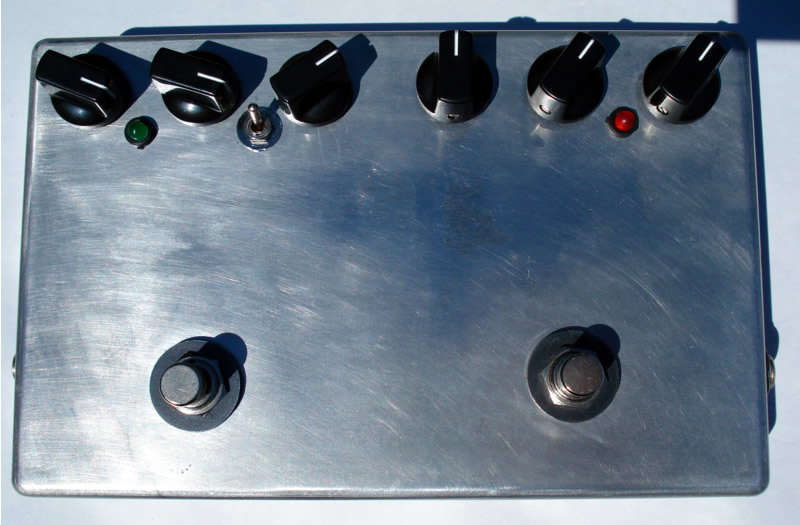
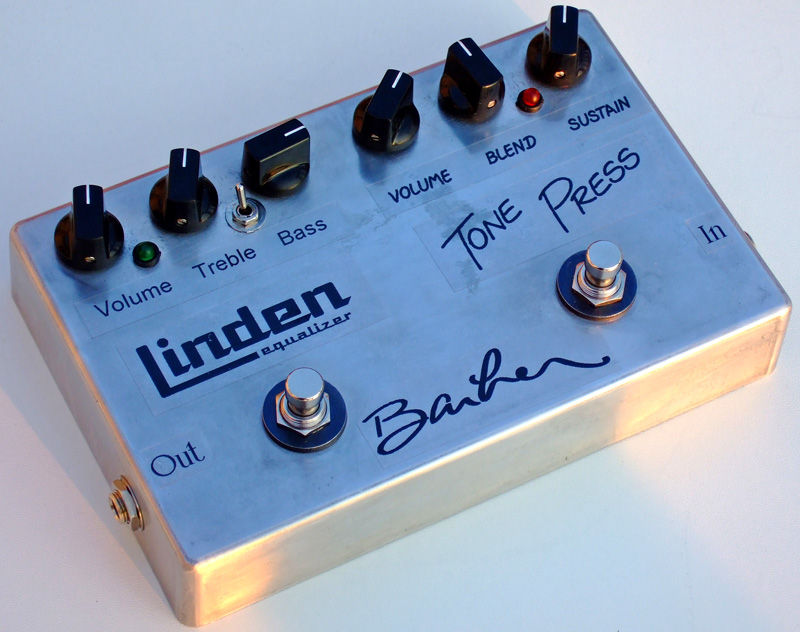
with the stickers added.... DONE!!!
Oh.....It sounds AWESOME!!!
The End....
Ronni